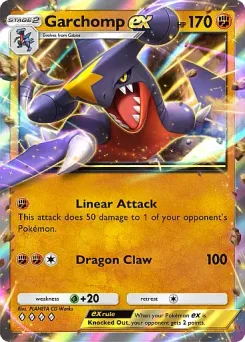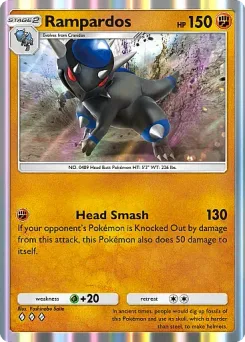

Mega Garchomp ex deck · Dragonair


21 deck lists · 5 events
View full deck listMost played: 21 of 42 tournament lists use this build.
View full deck list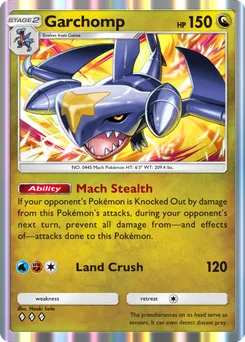
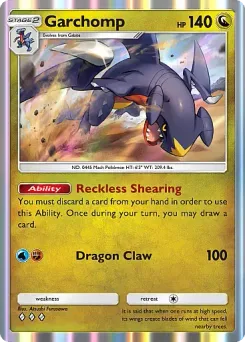
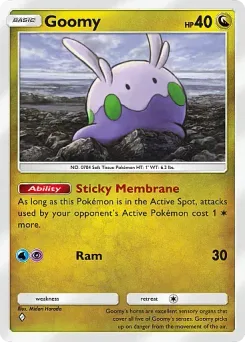
 DragonairB4-117Dragonair100%21 of 21 lists include this cardGarchomp (B4a)54.5%6 of 11 lists include this cardGarchomp (A2)66.7%4 of 6 lists include this cardGarchomp deck (B4a)0%0 of 4 lists include this cardGarchompB4a-054Dragonair23.8%5 of 21 lists include this cardGarchomp (B4a)100%11 of 11 lists include this cardGarchomp (A2)0%0 of 6 lists include this cardGarchomp deck (B4a)100%4 of 4 lists include this cardGarchompA2-123Dragonair57.1%12 of 21 lists include this cardGarchomp (B4a)0%0 of 11 lists include this cardGarchomp (A2)100%6 of 6 lists include this cardGarchomp deck (B4a)25%1 of 4 lists include this card
Across 42 tournament Garchomp deck lists, how many included each Trainer?
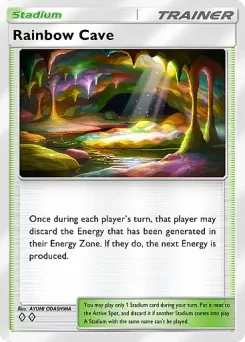 Rainbow CaveB4-155
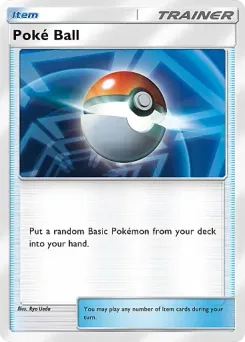 Poké BallP-A-005
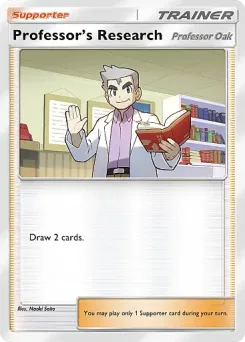 Professor's ResearchP-A-007
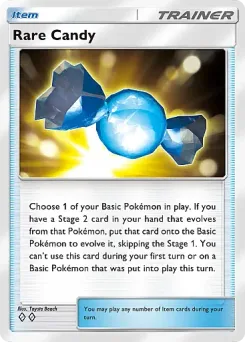 Rare CandyA3-144
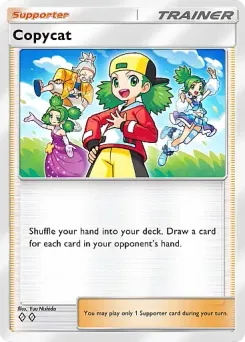 CopycatB1-225
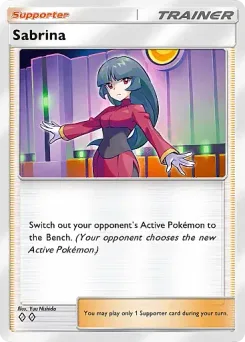 SabrinaA1-225
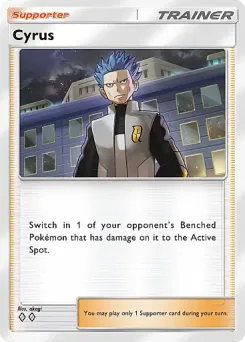 CyrusA2-150
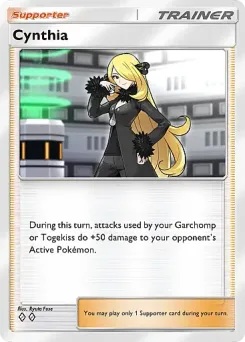 CynthiaA2-152
 WallyB4-153
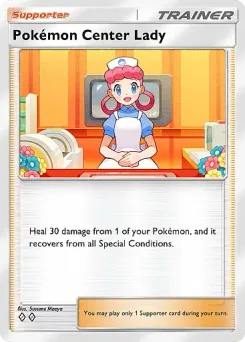 Pokémon Center LadyA2b-070
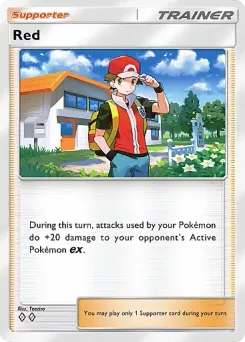 RedA2b-071
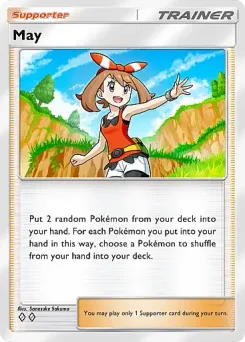 MayB1-223
 JulianaB3a-071
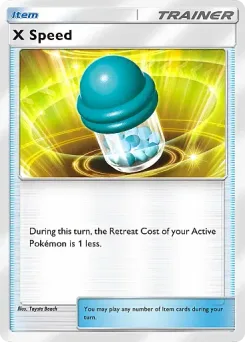 X SpeedP-A-002
 Lucky EggB3-148
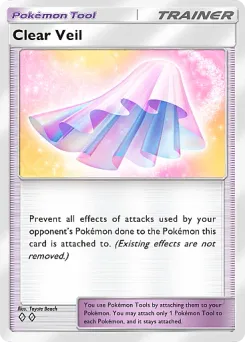 Clear VeilB4-149
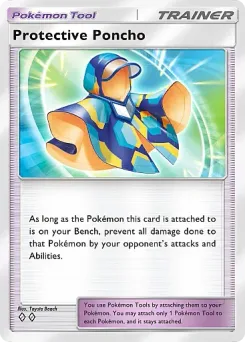 Protective PonchoB2-147
 Field BlowerB3-147
 Small BalloonB3b-064
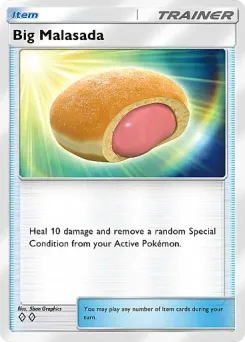 Big MalasadaA3-142
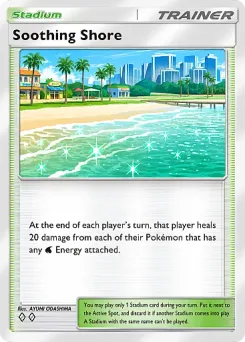 Soothing ShoreB4-154
Compare win rates alongside game counts; a smaller sample can move more sharply.
Mega Garchomp ex deck · DragonairMega Garchomp ex deck · Garchomp (B4a)Mega Garchomp ex deck · Garchomp (A2)Garchomp deck (B4a)Check these core cards, then open a representative list to check your collection.
Mega Garchomp ex deck · DragonairMega Garchomp ex deck · Garchomp (B4a)Mega Garchomp ex deck · Garchomp (A2)Garchomp deck (B4a)Start with Mega Garchomp ex deck · Dragonair if you want the largest tournament sample: 21 of the 42 lists in this window used that build. Its record covers 99 games. Open the full list before crafting cards; the most-played build is a useful reference, but popularity alone doesn’t tell you which one will win more often.
Current Mega Garchomp ex Deck ListsCheck the set number on your card. These lists share Mega Garchomp ex, but one uses Garchomp (A2-123) as its defining partner and the other uses Garchomp (B4a-054). They are different cards with the same name, not alternate artwork of the same card. Open the list that matches your version before checking which other cards you need.
Dragonair, Garchomp (B4a), or Garchomp (A2)?Rainbow Cave appeared in 42 of the 42 current tournament lists across all builds. That makes it worth checking when you compare your collection with a list. The count tells you how often the card appeared, not how many copies to run; use the full list for the exact count.
Which Trainer Cards Do Garchomp Decks Use?For example, Garchomp ex Rampardos was last seen on 2026-10-31. Its list remains available so you can revisit the build, but its old results aren’t included in current card-use percentages. Check the tournament window at the top before treating a past result as evidence about today’s decks.
Archived Garchomp Deck ListsImagine that your first big attack has just landed. What will you attack with next turn? That question separates a build that can deliver one spectacular hit from a build that can finish a game. A Garchomp deck with Dragonair can plan around a second hit from the Mega. An A2 Garchomp build gives you another attacker instead; compare the attack you can pay for next turn, not just the damage printed on the card.
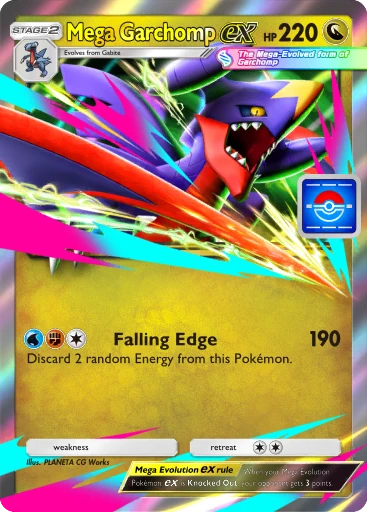
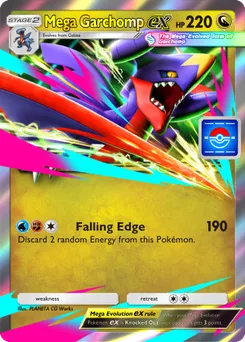
Read the three Energy symbols on Mega Garchomp ex. Falling Edge costs Water, Fighting and one Colorless, deals 190 damage and discards two random Energy from its user. Colorless is a flexible cost, not a request to generate a third kind of Energy. If you have exactly three Energy attached before the attack, only one will remain afterward. Attaching a fourth Energy in a Mega Garchomp ex deck leaves more behind, but you cannot choose which colors survive. Even a Garchomp build using recovery still has to replace the right colors.
Here is a useful practice position. The opposing Active has 190 HP or less left and nothing prevents or reduces the damage. Your Mega has exactly the three Energy it needs, and you have no recovery effect in play. Before committing, count the points that knockout earns and look at what can come forward from the opposing Bench. Test that position with two actual lists. Can the Garchomp deck with Dragonair attack again if Water survives? Could the A2 Garchomp list finish with a different attacker if Fighting survives instead?
Dragonair gives discarded Energy another use. Its Ability works while Dragonair is on your Bench and attaches an Energy from your discard pile to your Active Dragon Pokémon. Each condition matters. An Active Dragonair cannot provide that particular Bench effect; a Benched Mega cannot receive it; and an empty discard pile has nothing to recover. A Garchomp build with Dragonair needs space on the Bench before it needs a second attacker. In a Mega Garchomp ex deck without Dragonair, an Energy in the discard pile is not a resource you can automatically spend.
Suppose Falling Edge leaves Fighting Energy on the Mega, and the discard pile now contains Water. With Dragonair on the Bench, you can recover the missing Water onto your Active Mega. If your normal attachment can cover the remaining Colorless cost, you have the three parts of another Falling Edge. Play out both outcomes of the discard with the same Garchomp list. If one outcome costs the Garchomp deck an extra turn, write down the missing color rather than blaming the number of Energy.
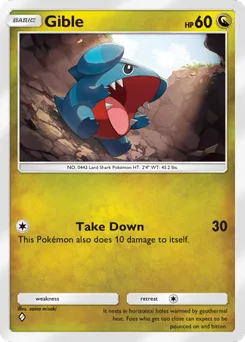
The price of that flexibility is space and setup. Dratini must become Dragonair; putting the evolved card in your hand does not put its Ability on the board. A second evolution line also competes with the main line for Bench places and draws. Compare how many Basics the Garchomp deck with Dragonair must put into play with how many the A2 Garchomp build needs. Opening with Dratini instead of Gible matters even when both hands eventually reach their evolutions.
Garchomp (A2-123) is the card to inspect if the bottleneck is your hand. Its Ability lets you discard a card to draw one, once during your turn. That improves selection; it does not put you a card ahead. A spare evolution piece with no remaining target might be a reasonable discard. With Water and Fighting attached, an A2 Garchomp deck can already deal 100. A Mega Garchomp ex deck going straight for 190 needs a third attachment; that extra turn can matter more than the larger number.
Garchomp (B4a-054) solves another problem. Its 120-damage attack costs Water, Fighting and Colorless. Its Ability rewards a knockout caused by damage from its own attack: during the opponent's next turn, attacks cannot deal damage or apply their effects to that Garchomp. The protection belongs to that Pokémon, for that interval. Choose the B4a Garchomp build for a target its own attack can finish. Another attacker in the same Garchomp deck cannot earn that protection on its behalf.
For example, consider an opposing Active with 110 HP remaining, before other modifiers. The A2 card's 100 damage falls short; the B4a card's 120 can take the knockout and meet its protection condition. Now consider a turn where you have only Water and Fighting attached. A2 can attack on those two Energy, while B4a still needs a third. Give both versions the same board. The A2 Garchomp list can attack on two Energy; the B4a Garchomp deck can take the 110 HP knockout on three. Change the available Energy and the better play changes with it.
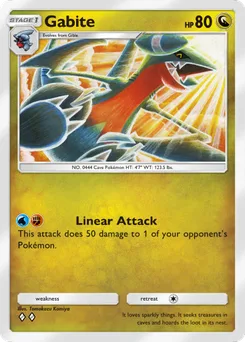
Mega Garchomp ex, Garchomp (A2-123) and Garchomp (B4a-054) evolve from Gabite. A Gabite on the board is therefore a choice about the next turn, not three finished attackers. Once you evolve it into one option, the other Stage 2 cards in your hand need a different base. Count evolution paths in the Garchomp deck you plan to copy. A Garchomp list with several Stage 2 options still needs a second Gible if you want two finished attackers.
Rare Candy can take a Basic directly to its corresponding Stage 2 when that Stage 2 is in hand. It cannot do so on your first turn or on a Basic that entered play this turn. A good way to practice is to identify the earliest legal evolution in a sample opening hand. The shortcut in a Mega Garchomp ex deck saves an evolution step, not a turn of eligibility. Test the Garchomp list once with Gible already in play and once with a Gible you just played.
That timing matters when you adjust a list. Cutting a middle evolution for a Trainer might give you an appealing extra card, but it makes some hands depend on both the Candy and the correct Stage 2. Conversely, adding every evolution you own can leave too few cards that find Basics or manage Energy. Start with a submitted Garchomp list before changing the number of Gabite. Combining the most common cards from every Garchomp build can leave you with a collection of good cards but no dependable evolution line.
Rainbow Cave allows the player whose turn it is to discard the generated Energy in their Energy Zone so the next Energy is produced. This is a chance to change an awkward Energy, not a promise that the next color will be the one you need. Both players can use the Stadium on their respective turns. Check whether the opposing deck also wants a different Energy. Rainbow Cave can help a mixed-Energy Garchomp deck, but it is a weaker choice for a Garchomp list whose current Energy already pays for its next attack.
Separate three decisions that are easy to blur together. First, what can the Zone provide this turn? Second, which discarded Energy can a Benched Dragonair recover? Third, where must those attachments end up to make an attack legal? Separate the Zone from the discard pile when comparing a Garchomp build with Dragonair with another Garchomp deck. A Stadium can replace the generated Energy; it cannot put a discarded Fighting Energy straight onto your attacker.
The Mega also has a retreat cost of two. Retreating can preserve a three-point Pokémon, but paying with attached Energy changes the next attack calculation. Think beyond whether you can leave the Active Spot. Before retreating in a Mega Garchomp ex deck, name the Pokémon that will take over. A Garchomp list with a ready two-Energy attacker has a different retreat decision from one with only unfinished evolutions on the Bench.
Use the event window shown above the lists. A deck count is the number of observed lists assigned to an archetype; a game count measures a different thing. One entrant can play several games. The best finish is the strongest single placement in the sample, not the placing a typical player should expect. A popular Garchomp deck and the highest-finishing Garchomp build need not be the same. Open the corresponding Garchomp list before treating one tournament finish as a reason to change a card.
There is also a trap in the card comparison. A Dragonair-centered list can include ordinary Garchomp. Finding the A2 card in that list does not transform it into the dedicated A2 partner build. Read the name of the archetype, the exact card ID and the number of lists containing that print. Finding the A2 print in a Garchomp list with Dragonair does not turn it into the dedicated A2 Garchomp build. Check the archetype first and then the submitted copies; inclusion measures lists, not copies.
Treat the matchup rows as leads for testing. A record against one named opponent is not a record against every deck of the same type. Even two builds with the same Mega can have different plans for the same opposing attacker. After a loss, note whether your problem was failing to evolve, missing a particular Energy, or attacking into a target you could not knock out. Read a matchup as a record for one Garchomp deck against one named opponent. A result for the Garchomp build with Dragonair does not establish how a B4a Garchomp list performs against that same opponent.
Start with the full list for the version you actually own. Play a short series without changing it and record the first turn on which your intended attacker could legally attack. Also record whether a second meaningful attack followed the first Falling Edge. For a Mega Garchomp ex deck, record both the first Falling Edge and the next turn you could attack. That distinguishes a Garchomp deck that evolves slowly from one that evolves on time but cannot attack twice.
Then change one card for a stated reason. If you expect the change to help Energy recovery, count the turns when an Active Dragon could receive an Energy from the discard pile. If you expect better hand selection, record what you actually discarded to the A2 Garchomp Ability and whether the replacement draw helped. Change one slot in the A2 Garchomp build and note the cards you actually discard. In the B4a Garchomp deck, record knockouts by the B4a attacker itself; counting a teammate's knockout would test a different effect.
Finally, keep a note of which opposing lists you faced. A stretch of favorable pairings can make an ineffective change look excellent. Your notes are not a substitute for the public tournament sample, and the public sample is not a substitute for learning how your own hands play out. Keep the opposing lists in your notes. A short winning streak with one Garchomp build is difficult to compare with a Garchomp list that faced a different set of opponents.
Picture a late game in which you need one more point. The opposing Active has 100 HP remaining. You have one Gabite ready to evolve, Water and Fighting attached to it, and a choice of two Stage 2 cards in your hand. Before finding another Energy for the Mega, check the A2 attack. In this position the A2 Garchomp deck wins on two Energy. Waiting for a third Energy in the Mega Garchomp ex deck buys damage you do not need; raise the target to 110 HP and repeat the comparison.
Change the position so that you still need two points, the opposing Active awards only one, and a dangerous attacker is waiting behind it. A knockout that ends the game needs no follow-up plan; a knockout that leaves you one point short does. If B4a can take the first knockout itself, its protection can change which opposing attacks matter next turn. If you use the Mega for that knockout instead, identify how you will protect it or power it again. If the first knockout does not end the game, the B4a Garchomp build can protect its attacker. The Mega Garchomp ex deck must find another attack while keeping a three-point knockout out of reach.
This is a useful way to compare representative lists side by side without treating their tournament percentages as predictions. Pick a specific position, say what is in play, and check which list actually contains the card that solves it. Then reverse the exercise: choose a card that would be excellent in that position and find a common opening where it would sit unused. Choose a Garchomp list that solves a position you often reach. Then try the same card in the opening hand of that Garchomp deck: a great finisher is less useful if it repeatedly leaves you without a playable Basic.
Support the site
Suggestions, bugs, or a quick note all help. If this site's been useful, a coffee keeps it going.